Yoga practice for people during menstruation
Correct practice of menstruation sequence can help alleviate related aches and pains.
👥 Serves: 1 person
🎚 Difficulty: Easy
⏳ Total time: 61-120 minutes
🥣 Ingredients: A quiet place with no distractions, 1 yoga mat, comfortable clothes, 1 yoga belt, 2–3 blankets, bolster and yoga block (optional)
🤓 Wholebeing Domains: Awareness, Rest, Ritualising
💪 Wholebeing Skills: Aligning with the cycles, Centring, Embodiment, Exercising, Liberation, Mind-body-connection, Mindfulness, Movement, Refuge, Slowing down

Yoga practice for people during menstruation
📝 Description
A calming yoga practice appropriate for people during menstruation.
This basic yoga practice for beginners is appropriate for people during menstruation. It is a quiet practice of sitting postures, supine supported postures, and supported forward bends that are best suited for the body during menstruation. This practice also creates a quiet and centred mind and you can download this two-pager document with images of all poses.
If you have normal periods, are not experiencing discomfort, and are attending a regular class, you may do lateral standing poses such as Utthita Trikonasana, Utthita Parsvakonasana, Virabhadrasana II, and Ardha Chandrasana with the support of a wall. Parsvottanasana can also be done with hands on the wall. At home the standing poses are better dropped in favour of supported supine postures and supported forward bends.
Avoid all inversions and strenuous postures including these: Urdhva Mukha Svanasana and active backbends, Chaturanga Dandasana, Jathara Parivartanasana, Urdhva Prasarita Padasana, Navasana, jumps, rope work, and arm balances.
This recipe is based on the work of Yogacharya B. K. S. Iyengar and Dr Geeta Iyengar. Recommended reading: Yoga – A Gem for Women by Geeta S. Iyengar I.Y.A. of G.N.Y, Bobby Clennel, Mary Dunn, Brooke Myers. Big thanks to Greta’s yoga teacher, Ilaria Zinzani of Studio Yoga Ilaria Zinzani in Faenza, for sharing this practice with us.
•••
Important: A note on language – The template that shows the various postures is titled “Yoga practice appropriate for women during menstruation” whereas we refer to “people with menstruation” beyond gender. We recognise that some cisgender women (assigned female at birth) don’t have periods due to menopause, stress, disease, or other medical conditions. At the same time, there are people who menstruate who are not cisgender women, e.g. trans men, intersex, genderqueer, or nonbinary. The template is not recent so we hope our readers will appreciate our use of more inclusive language in our recipe.
👣 Steps
Step 1 – Upavistha Konasana (5’)
Sit upright with the support of the wall. Extend your legs forming a V-shape. If needed, you can fold a blanket and sit on it to give you a bit more height and release pressure on your back.
Step 2 – Baddha Konasana (5’)
Keep sitting upright with the support of the wall, but bend your legs so your feet are pressing against each other. Clasp your hands around your feet to lengthen the stretch on your back.
Step 3 – Supta Swastikasana (3’)
Place a bolster (or fold 1–2 blankets to form a long support) on your yoga mat (vertically) and place a folded blanket at the top of the bolster (horizontally). Sit on the yoga mat at the bottom of the bolster, cross your legs in a comfortable position, place your hands on the yoga mat to help you slide back and rest your back on the bolster. Your head should be resting on the blanket at the top of the bolster. When you are in position, open your arms to the side, with the palms facing up. To come out of this posture, roll on your right side and use your left hand to help you come up to a sitting position.
Step 4 – Supta Baddha Konasana (5’)
Keep the bolster (or blankets) and the blanket as they are but take a yoga belt (you can use a bathrobe belt if you don’t have a yoga belt). Close the belt to form quite a big loop. Reposition yourself at the end of the bolster (you’re sitting on the yoga mat though, not on the bolster) and this time, bend your legs so your feet are once again pressing against each other. At this point, take the belt and place it in an easier way, close your knees for a moment and pass the belt around them. Open your knees again – you should have the belt passing around your knees and on top of your ankles and top of the thighs. The belt gives additional support to release tensions in the lower part of the body. If you feel there’s too much tension still, you can take an extra blanket, fold it so that it is long, place it on top of your feet and underneath your ankles. When you are ready, once again place your hands on the yoga mat to help you slide back and rest your back on the bolster. Your head should be resting on the blanket at the top of the bolster. When you are in position, open your arms to the side, with the palms facing up. To come out of this posture, close your knees, remove the belt, and roll over to your right before coming up again.
Step 5 – Swastikasana with supported forward bend (2’–3’ each side)
Remove all the props for the previous posture and simply fold a blanket on your yoga mat. Sit on the blanket in a simple cross-legged position. Walk your hands in front of you to stretch your back and use a yoga block and blankets (or thick books) to create a height where you can rest your head on. After 2–3 minutes, change the crossing of your legs and repeat.
Step 6 – Virasana with supported forward bend (2’–3’)
Sit on your calves so that your butt is touching your heels. Walk your hand in front of you to stretch your back but keep your butt in contact with your heels. If needed, use a yoga block and blankets (or thick books) to create a height where you can rest your head on if it doesn’t reach the floor.
Step 7 – Janusirsasana (2’–3’ each side)
Sit on a folded blanket and extend your legs in front of you. Bend the left leg so the left foot is touching the inner right thigh. Extend your arms up and bend forward, resting your head on a prop (e.g. a bolster or a 2–3 blankets on your right leg) and with rest your hand wherever they reach (e.g. the right foot, right ankle, right shin…). Come back up and swap sides. Repeat 3 times on each side.
Step 8 – Upavistha Konasana with forward bend (2’–3’)
Repeat the very first pose, adding a forward bend. Sit on your folded blanket and extend your legs forming a V-shape. Place a few props in front of you (e.g. a bolster and a few blankets) so you can rest your head as you bend forward.
Step 9 – Upavistha Konasana to the side (2’–3’ each side)
Repeat the previous pose, but to the side. Place your props on top of the right shin and bend to the right. Swap and repeat on the left side.
Step 10 – Crossed bolsters (10’)
Place your yoga mat close to a wall (vertically). Then take a couple of bolsters (or 2–4 blankets folded so they are long like a bolster) and place them on top of each other, one vertical and one horizontal (or 2 blankets vertical, 2 horizontal). Sit on top of the vertical bolster (at the very end) with your face facing the wall. Buckle up a belt and place it around your thighs so they are supported (but not too tight). Slide back on the bolster and keep sliding back until your head and tip of your shoulders reach the yoga mat. Your neck should feel extended. Now extend your legs until your feet reach the wall to give you stability. You may have to adjust the distance before you find the right position. When you are comfortable, open your arms to the side like a chandelier. To come out of this posture, bend your knees and roll over to the right.
Step 11 – Setu Bandha Sarvangasana (10’–15’)
Keep the yoga mat next to a wall and place a yoga block or thick book at the end of the mat so it is adherent to the wall (place it vertically). Place a bolster or a couple of blankets vertically on the yoga mat and a thinly folded blanket to rest your head on the yoga mat (there should be some space between the bolster and the blanket for the head). Place the yoga belt around your thighs like you did before and sit at the end of your bolster (but on top of it). Like before, slide back and keep sliding until your shoulders are on the floor and your head and tips of your shoulders are resting on the blanket. The rest of your back and top of the thighs is supported by the bolster. Extend your legs and rest your feet on top of the yoga block. When you are comfortable, open your arms to the side.
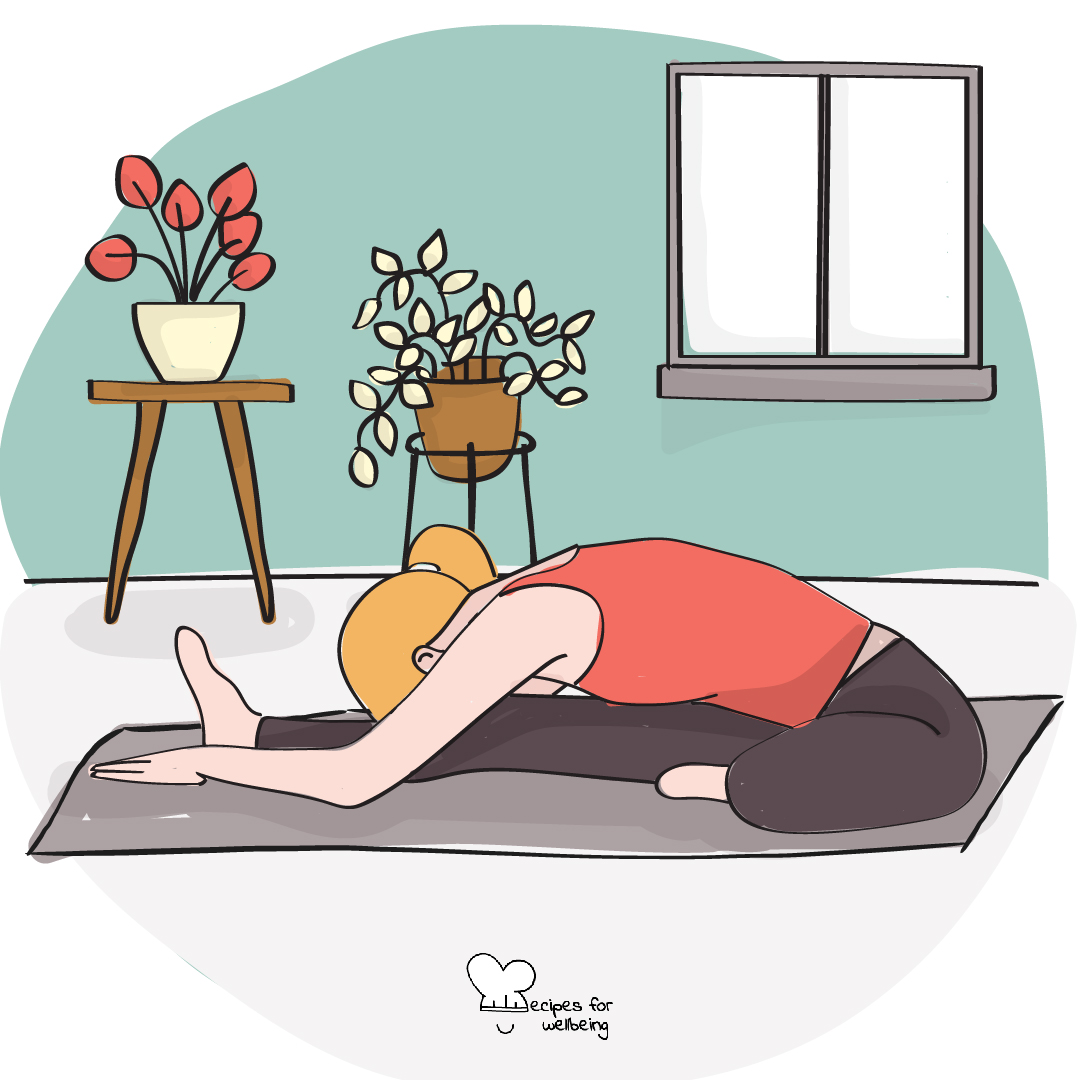
Step 12 – Savasana (10’)
Come into corpse pose (Savasana) for the final relaxation. Simply lay down on your yoga mat (you can use a thinly folded blanket for your head and/or a bolster/blanket underneath your knees). After a few minutes, start to move your fingers and toes… do a full-body stretch if that feels good. Roll to the right side, using your right arm as a pillow, enjoying a few more moments of not doing and just being… When you are ready, use the left arm to push you into a seated posture and you can stay here for a few more breaths before going back to your day.