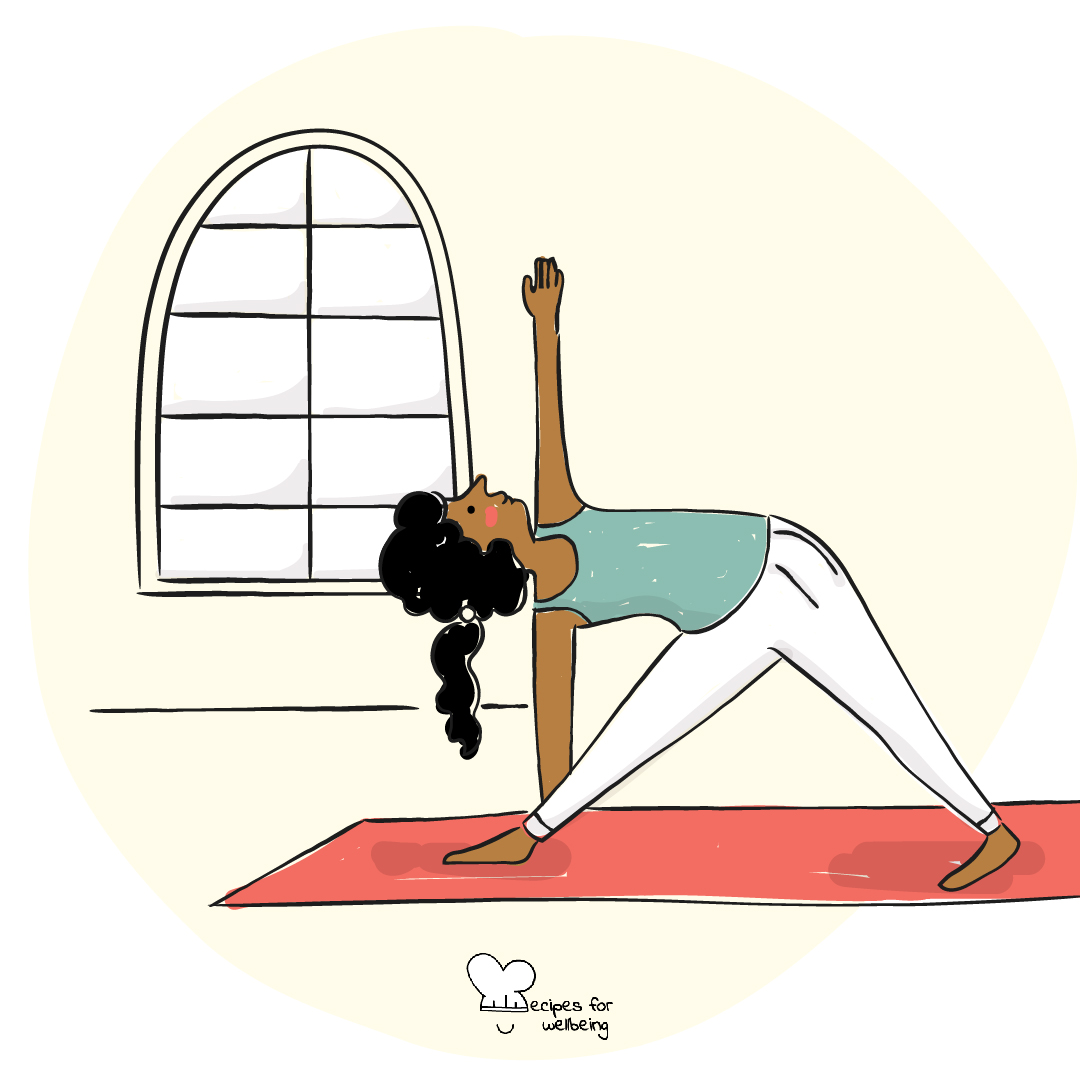
Gentle morning flow
To perform every action artfully is yoga. ―Swami Kripalu
👥 Serves: 1 person, 11-25 people, 2-10 people
🎚 Difficulty: Easy
⏳ Total time: 11-30 minutes
🥣 Ingredients: A quiet place with no distractions, yoga mat, comfortable clothes
🤓 Wholebeing Domains: Awareness, Meaning, Ritualising
💪 Wholebeing Skills: Centring, Exercising, Flow, Mind-body-connection, Mindfulness, Movement

Gentle morning flow
📝 Description
A slow-flow yoga practice to help you ground yourself.
This 30-minute gentle morning flow offered by Valeria Del Castillo is a mix between Hatha yoga and Vinyasa and it is for all levels, but it is catered towards beginners. It is a grounding practice that focuses on the feet, legs, and hips and is a good way to come back to your body and hit reset.
•••
This recipe has been featured in our blog post “Moving the body to calm the mind” published on tbd* on 8 April 2020.
👣 Steps
Step 1 – Tuning in (3’)
Sit cross-legged, place your hands on top of your thighs, close your eyes, and tune into your internal landscape. Notice what sensations, thoughts, or emotions you might be experiencing right now, without judging or wanting to change them. Start to notice your breath and the sensations of the rising and falling of your breath. Feel really grounded through the sit bones and grow tall through the crown of your head. After a while, come back to your body and open your eyes.
Step 2 – Side bends (1’)
Take your left hand and start doing some flamenco wrists, circling the wrist all the way up and take your right hand and place it on the side of your body, bending the left side of your body. Come back and repeat on the other side. Now clasp your fists together and rotate them quickly in all directions. Do the same with your shoulders, releasing any tensions.
Step 3 – Bitilasana Marjaryasana • Cat-cow (1’30’’)
Come into all fours, with the wrists underneath your shoulders and your knees underneath your hips. Inhale and arch your back by pushing the belly towards the floor and as you exhale, round the spine towards the sealing. Repeat this move a few more times on your own breath.
Step 4 – Balasana • Child pose (1’30’’)
Come back to a neutral pose, bring the big toes to touch, sit on the heels and come down into child pose. Breathe into the back of your body. Rest in this pose for a few more seconds. Then spread your fingers like a star-fish so that the index finger is facing forward.
Step 5 – Adho Mukha Svanasana • Downward dog (1’)
Return to all fours, tuck the toes under and come into your first downward dog. If it feels good, you can paddle the legs one at a time and after a few moments, return to stillness.
Step 6 – Uttanasana • Forward fold (1’)
Start walking your feet towards your hands until you come with your feet underneath your hips, bend your knees, and come into a forward fold. You can grab your elbows to release the spine. If you have any back pain, come up right, if not, start to peel yourself up, vertebrae by vertebrae until you come up into a standing position.
Step 7 – Surya Namaskar • Sun salutation – min. 2 rounds (4’)
For detailed instructions on the sun salutation routine, please check out our recipe “Sun Salutation”. Valeria’s version:
- Tadasana (mountain pose)
- Urdhva Hastasana (upward salute)
- Uttanasana (standing forward bend)
- Ardha Uttanasana (half standing forward bend)
- Plank
- Chaturanga Dandasana (four-limbed staff pose)
- Urdhva Mukha Svanasana (upward-facing dog pose)
- Adho Mukha Svanasana (downward-facing dog pose)
- Uttanasana (standing forward bend)
- Ardha Uttanasana (half standing forward bend)
- Uttanasana (standing forward bend)
- Urdhva Hastasana (upward salute)
- Tadasana (mountain pose)
Step 8 – Virabhadrasana II • Warrior II (3’)
Bring your legs wide apart, hands to the hips, turn the right foot to face the top of the mat and the left foot comes in about 45 degrees. Notice your pelvis and turn your pelvis forward towards the top of the mat to protect your knee. Inhale and take the arms at shoulders’ height; exhale and bend the right knee coming into Warrior II. Do this dynamically: bring your arms up into prayer and straighten the right leg, then go down again into Warrior II. Do this a few times. Hold it for a few seconds. Lower the left arm and place your left hand on the back of your thigh, turn the palm of the right hand to the other side and reverse your warrior. Come back to the centre and repeat the Warrior II and humble warrior on the other side.
Step 9 – Wide-legged bends (1’)
Now point your feet to the upper corner of the mat (so the toes are facing outward and the heels inward) and bend your knees. Straighten the knees and bring your hands in prayer pose above you, then bend the knees again. Repeat a few more times and the last time hold it. Press your hands against each other and notice the pelvis, making sure it is not creating a curve at the back.
Step 10 – Prasarita Padottanasana • wide-legged forward bend (1’)
Spread your legs, feet parallel, hands to the hips, bend the knees slightly and come into a forward fold, placing your hands on the mat underneath the shoulders, in line with your feet. Rest in this pose for a few breaths. Engage the legs, hands to the hips and come all the way up right. Jump your feet together and come to the middle of the mat.
Step 11 – Balancing postures (4’)
Place your weight on the right foot and grab your left knee with the hands. You can hold it there or you can grab the big toe with your index and middle finger and straighten the leg in front of you. Release and keep hold of the shin and place the sole of the foot on the inside of the right thigh. Bring the hands into prayer to complete the tree pose. Stay there for a few breaths. Release, give it a little shake and repeat with the other leg.
Step 12 – Tip toes (1’)
Come back to the centre of the mat and lift your heels and stay on your toes. Do this a few more times, following your breath. When you’re ready, also lift up your arms into prayer and lower them, bending your knees, slowly coming down (with your heels up). Sit on your heels.
Step 13 – Dynamic child pose (1’)
Come into kneeling, inhale up lifting up your hands, exhaling and bringing the hands at the back of your body towards your sacrum and you relax into child pose. Repeat a few more times at your own pace, following your breath. Then release the arms and catch your breath in child pose. Notice what’s happening in your mind and body, feeling supported by the ground. Come up right whenever you are ready.
Step 14 – Closing sequence (1’)
Bring your feet together and open your feet like a book, keep a neutral spine, ground through the sit bones, inhale, and as you exhale, start to come forward into a forward fold with a straight back. Breathe in this pose, continue to ground through the sit bones with each exhalation. When you are ready, come back into neutral and close your legs.
Step 15 – Hitchhiker twist (1’)
Sit cross-legged, grab your left thumb and do a hitchhiker twist, bringing the arm to the back and following the finger with the gaze. Do this a few times and then swap arms.
Step 16 – Knees and back twist (1’)
Come down onto the mat, keeping the knees bent. Start to twist the knees on one side and then the other. Then bring the knees to the chest and grab them with your arms and massage the lower back.
Step 17 – Savasana (5’)
Come into corpse pose (savasana) for the final relaxation… Letting go of any breath patterns you had before, letting go of the practice… Just noticing how the body feels, the points of contact between the body and the ground… Grounding a bit more with each exhalation… After a few minutes, start to deepen the breath… start to move your fingers and toes… do a full-body stretch if that feels good. Roll to the right side, using your right arm as a pillow, enjoying a few more moments of not doing and just being… When you are ready, use the left arm to push you into a seated posture and you can stay here for a few more breaths before going back to your day.