Immune sequence (morning)
Yoga teaches us to cure what need not be endured and endure what cannot be cured. ―B. K. S. Iyengar
👥 Serves: 1 person, 11-25 people, 2-10 people
🎚 Difficulty: Medium
⏳ Total time: 31-60 minutes
🥣 Ingredients: A quiet place with no distractions, 1 yoga mat (per person), comfortable clothes, 1 chair (per person), 5-6 blankets (per person), 1 bolster (per person) (optional)
🤓 Wholebeing Domains: Awareness, Ritualising
💪 Wholebeing Skills: Centring, Exercising, Mind-body-connection, Mindfulness, Movement
")
Immune sequence (morning)
📝 Description
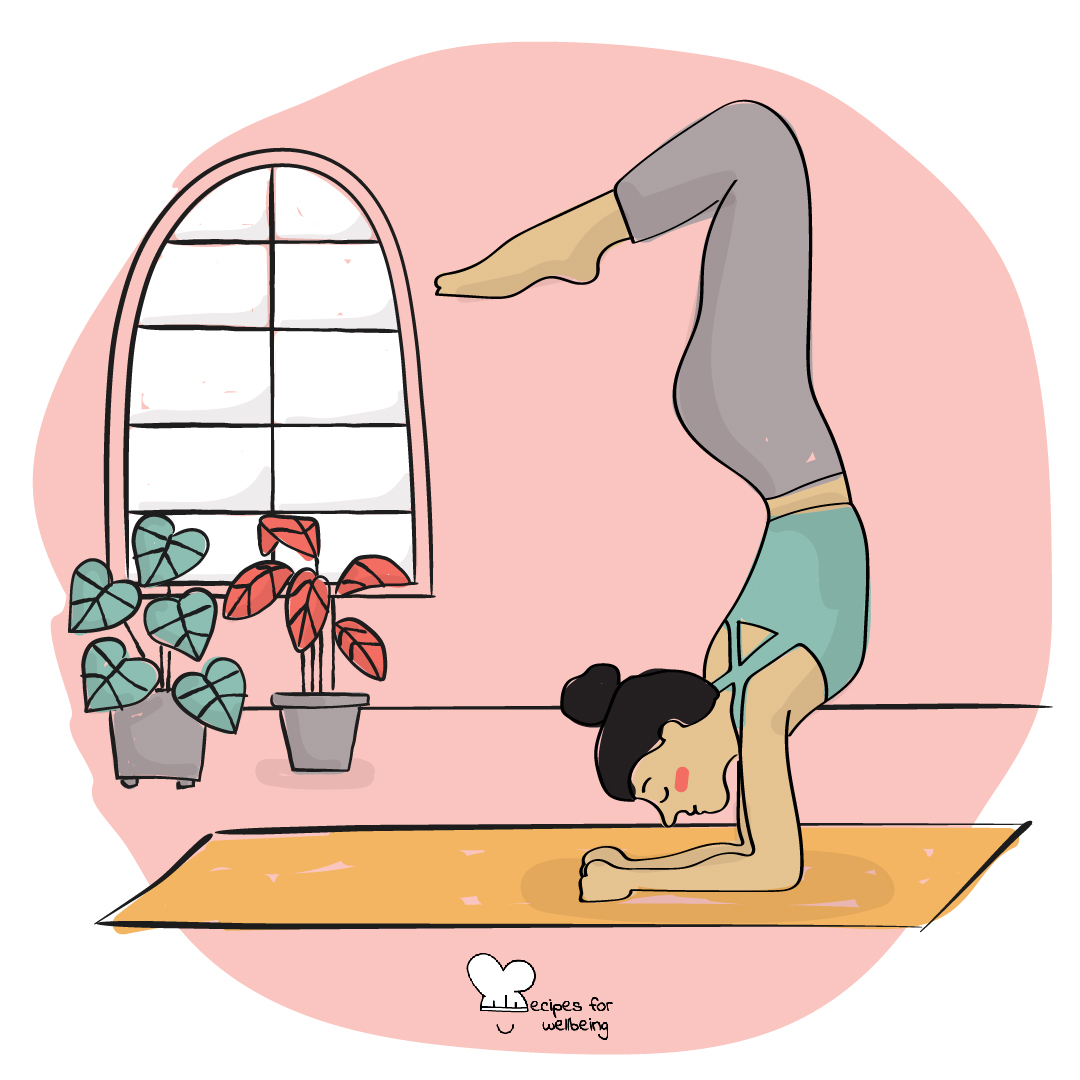
A morning yoga practice to boost your immune system.
This one-hour morning immune sequence was given out to students at the Iyengar Institute in Pune when it was closed due to an outbreak of a virulent flu. You can practise this sequence to boost your immune system, but please note this is not for beginners. You should have some prior experience with yoga, especially when it comes to reversed positions. Download the one-pager with all the poses here.
Big thanks to Greta’s yoga teacher, Ilaria Zinzani of Studio Yoga Ilaria Zinzani in Faenza, for sharing this practice with us.
•••
Important: We shared this recipe as part of our blog post “Wellbeing in the time of COVID-19” because it’s an effective practice to boost your immune system. Naturally, take all needed precautions: for instance, if you are practising with other people, make sure to maintain at least 1 metre distance between each other, wash your yoga mat with a damp cloth or sponge both before and after the practice, and use a towel to put on top of the props you use.
👣 Steps
Step 1 – Uttanasana • standing forward bend (5’)
Exhaling, release your arms in wide arcs as you fold forward. Bend your knees if you feel pressure on your lower back and support your hands on blocks if they don’t reach the floor. Release your neck so that your head hangs heavily from your upper spine. To come out of the pose, straighten your legs, lock your knees, place your hands on your hips, and come up with a straight back.
Step 2 – Adho Mukha Svanasana • downward-facing dog pose (5’)
Return into Uttanasana, place your hands on the mat beside your feet and when you exhale, step back with your feet into Down Dog. Spread your palms and soles. Press the front of your thighs back as you press your inner hands firmly against the floor. Imagine that your torso is being stretched like a rubber band between the arms and legs. To come out of the pose, either jump or step forward with your feet and bring them in between your hands. Come up like you did in Uttanasana.
Step 3 – Prasarita Padottanasana • wide-legged forward bend (3’)
Stand in Tadasana (Mountain Pose), facing one of the long edges of your sticky mat, then step or lightly hop your feet apart anywhere from 3 to 4 1/2 feet (depending on your height: taller people should step wider). Rest your hands on your hips. Make sure your inner feet are parallel to each other. Lift your inner arches by drawing up on the inner ankles, and press the outer edges of your feet and ball of the big toe firmly into the floor. Engage the thigh muscles by drawing them up. Inhale and lift your chest, making the front torso slightly longer than the back.
Exhale and, maintaining the length of the front torso, lean the torso forward from the hip joints. As your torso approaches parallel to the floor, press your fingertips onto the floor directly below your shoulders. Extend your elbows fully. Your legs and arms then should be perpendicular to the floor and parallel to each other. Move your spine evenly into the back torso so that your back is slightly concave from the tailbone to the base of the skull. Bring your head up, keeping the back of the neck long, and direct your gaze upward toward the ceiling.
Push your top thighs straight back to help lengthen the front torso, and draw the inner groins away from each other to widen the base of your pelvis. Take a few breaths. As you maintain the concavity of your back and the forward lift of your sternum, walk your fingertips between your feet. Take a few more breaths and then, with an exhalation, bend your elbows and lower your torso and head into a full forward bend. Make sure as you move down that you keep your front torso as long as possible. If possible rest the crown of your head on the floor.
To come out of the pose, bring your hands forward underneath your shoulders, straighten your back parallel to the floor, place your hands on the hips and come up with a straight back. Jump or step your feet together into Tadasana.
Step 4 – Sirsasana • headstand (5’)
If you do with the support of a wall, please fold your mat into four and place it against the wall. Kneel in front of your mat and place your elbows shoulder-width apart near the end of the mat (in this case, close to your knees rather than the wall). Interlock your fingers right up to the webs and keep them relaxed. A loose interlock invites instability; rigid fingers will create unnecessary tension. Align the wrists perpendicular to the floor and center your weight on the edge of the forearm bone, rolling neither in nor out.
Still kneeling, place the crown of your head on your mat and move the back of your head directly into your hands. To prevent the cervical vertebrae from collapsing into one another, firmly press the forearms and wrists into the floor. This grounding lifts the shoulders away from the head, creating space in the neck. Practice first lifting and then dropping the shoulders a few times so the distinction is clear. Then keep them lifted and raise your knees, keeping your feet on the floor.
When you are ready, lift your hips so your knees come off the ground and walk your feet closer to your head, bringing the torso as nearly perpendicular to the floor as possible. As you walk in, you will need to work harder to maintain the lift of your shoulders.
Once you are able to lift your hips and bring them near the wall without collapsing the upper body, you are ready to take your feet from the floor and stand on your head. This time, once you have walked in as far as you can without collapsing in your back and shoulders, tilt your hips back toward the wall so your feet become light. Ideally, the shift of the hips and the strength of the abdominal and back muscles will enable you to lift the feet smoothly and easily away from the floor.
With an exhalation, bring your feet up, keeping your knees bent near your chest. Don’t hold this position for long, because with the body drawn into a compact shape you will tend to collapse in your neck, shoulders, and mid-back. Still keeping the knees bent, take your feet to the wall. With your heels in contact with the wall, stretch the legs up one at a time.
Continue to press your forearms and wrists into the floor, lift your shoulders, and draw your mid-thoracic spine in and up. Stretch your legs fully up toward the ceiling by squeezing the outer thighs, calves, and ankles in toward one another and drawing the entire inner and back legs upward.
To come out of this pose, lower one leg at the time and rest for a few moments in Balasana (child’s pose) with your forehead resting on your crossed arms, before coming into Uttanasana and returning to Tadasana.
Step 5 – Dwi Pada Viparita Dandasana • inverted staff pose (5’)
Re-open your mat and place it against a wall (on the short side) and place your chair on top of it, approximately one metre away from the wall and with the seat giving the back to the wall. Sit reverse on your chair with both legs through the back frame of the chair. Lie back so that the bottom edge of your shoulder blades (the part nearest the mid back) comes just off the seat of the chair. Allow your head to hang back. Hold the back frame of the chair with your hands and position your elbows on the seat of the chair beside your ribcage. Press your elbows down into the chair, and lift your back ribs and chest up. Keep your legs bent with your ankles under your knees. Have your feet apart hip width. Knees apart hip width. Press your feet firmly to the floor. As your chest lifts up allow your navel to release down. Breathe evenly.
Maintaining the lift in your chest, start to straighten your legs and bring the balls of your feet in contact with the wall. Keep your heels in contact with the floor as your feet reach the wall. Pressing your big toe bases into the wall, straighten the backs of your knees… and lift your chest up. Pressing your big toe bases into the wall, press the fronts of your thighs down… and lift your chest up. Maintain the action of pressing your elbows into the chair so that your chest stays lifted.
To come up, keep your head hanging back. Keep your hands on the back of the chair, press your elbows against the seat and with one firm movement, lead up with your chest and bring your head up last.
Step 6 – Salamba Sarvangasana • supported shoulderstand (10’)
Place 5-6 blankets at the top of your yoga mat and fold the end of the yoga mat to cover half of the blankets. Lie on your back with your shoulders resting on the blankets, and the head on the floor. Press the hands into the floor, swing the legs over and to the floor over the head. Press the elbows and upper arms into the blanke, turn the palms and support the upper back with the hands. Lift the hips and trunk towards the ceiling, lengthening up the sides of the trunk. Come right up on to the top of the shoulders, keep the back of the neck long on the floor. Swing one leg at a time, straight up so the feet are parallel to the floor and the ceiling. Continue to press the arms and elbows down and lift and lengthen the spine, hips and legs up.
Step 7 – Halasana • plough pose (5’)
From Salamba Sarvangasana, press the palms into the back and with the legs straight, lower one leg at the time until the toes reach the ground behind your head. Take your chest and hips slightly back to do this. Extend the legs onto the floor or onto a chair, block or bolster support and open the backs of the knees as you lift the tops of the thighs towards the ceiling. Place the palms of your hands on either side of your spine with the fingers pointing up towards your tailbone. When you feel stable enough, extend the arms overhead (opposite direction to your legs).
Step 8 – Salamba Sarvangasana cycle (5’)
Place your palms firmly against the back and lift your legs up in Salamba Sarvangasana. Lower one leg at the time (back and sideways), before lifting them up again. To come out of the pose, go back to Halasana, then bend your knees and bring them close to your chest before coming down.
Step 9 – Viparita Karani • leg-up-the-wall pose (5’)
If using a prop, place a bolster (or several firm, folded blankets) with the long side parallel to the wall and six inches away from it. Lie with your right hip atop the right end of the bolster. Roll onto your back, bringing the buttocks to the wall. Keep your knees bent and your feet resting on the wall.
You should be supported from the back of the pelvis to the lowest ribs; adjust the prop if necessary. To avoid the sensation that you are falling off the bolster toward your head, bring the bottom of the buttocks over the bolster and toward the floor. Tuck the shoulders underneath you to support and open your chest.
Straighten the legs up the wall, allowing their weight to move toward the sitting bones, and relax the front groins. Bring your arms into a T shape and stretch the inner and outer legs evenly and completely toward the wall. Release your muscles, breathe quietly, and relax completely.
To come out, bend your knees and press your feet into the wall, lift the hips, and move away from the wall until the whole back rests on the floor.
Step 10 – Savasana • with Viloma or Ujjayi Pranayama (10’)
Come into corpse pose (Savasana) for the final relaxation practicing Viloma or Ujjayi Pranayama. After a few minutes, start to move your fingers and toes… do a full-body stretch if that feels good. Roll to the right side, using your right arm as a pillow, enjoying a few more moments of not doing and just being… When you are ready, use the left arm to push you into a seated posture and you can stay here for a few more breaths before going back to your day.